First Full Length Episode Available April 20th 2025
The Coffee Basics Series: Pourovers
Jayce Vdl
10/15/20243 min read
My journey into the intricate world of coffee began during the festive season of 2019 when I treated myself to a Commande Grinder—an exquisite addition to my brewing collection.
Prior to this, I'd experimented with various pour-over methods using a Porlex grinder featuring ceramic burrs. However, it was only after I started using different equipment did I delved deeper into comprehending the profound influence of diverse techniques, ingredients, and equipment on the nuanced flavours of coffee.
Let's start with the essentials of pour-over coffee. If you're new to this method, this is the perfect place to begin. Here's a suggested starting point:
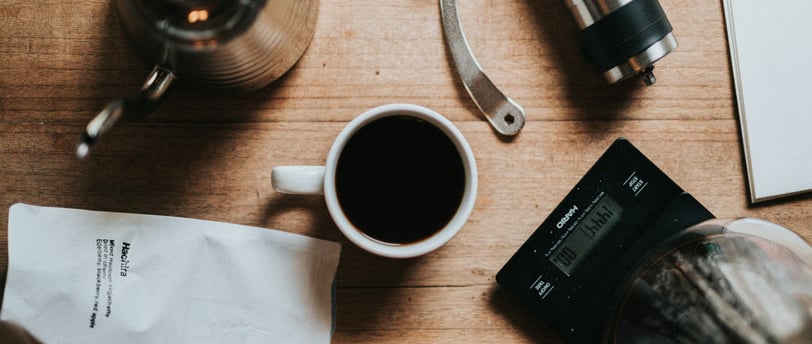
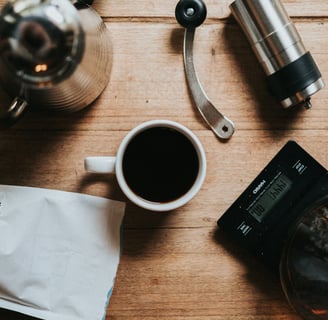
What You'll Need:
Scale
Filtered Water
Gooseneck Kettle
Grinder
Brewing Device
Filters
This article is going to start us off with our brew recipe, below is my attempt to explain how to do a pour over. What I would recommend is to use whatever equipment you have on hand, and follow this recipe. If you don’t have a scale, use whatever method you’ve been using thus far, if you don’t have a grinder, then have your coffee ground at your local cafe. Use a normal kettle if you don’t have a gooseneck kettle.
I want you to have a baseline as to where to start, so that as you add more equipment to your repertoire, upgrade your tools, you have a baseline to see how that new amazing tool make a difference.
The Pour-Over Method: Step-by-Step
Water:
Ideal Temperature: 96°C (about 30 seconds off boil)
Quantity: 288g (equal to 288ml, as 1g of water ≈ 1 ml)
Coffee:
Amount: 18g
Grind Size: Similar to kosher salt
1. Heat the Water Begin by heating your water—either on the stove or using a kettle. It's advisable to monitor the water temperature with a thermometer. Alternatively, you can bring the water to a boil, then turn off the heat and transfer it to the kettle for pouring. This helps regulate the temperature from boiling point.
2. Prepare the Filter and Coffee: Place your carafe on the scale and position your brewing device on top. Insert the filter into the brewer and wet it with some water to eliminate any papery taste. Discard this water.
3. The Bloom Next, pour the ground coffee into the filter, reset the scale to zero, and start a timer. The initial pour, known as the bloom, involves gently pouring 60g of water over the coffee in a circular fashion (or you have 228ml left in your container). Pour slowly to avoid creating a mess. You'll notice the coffee forming a dome-like appearance due to the release of CO2. Wait for 45 seconds.
4. Second Pour Follow up with the next pour, again in a gentle circular motion, until the scale reads 244g. (Or you have 44ml left). If you pour too fast, the water level will reach the top edge of the filter before you reach your desired weight. Allow the water level to drain until the coffee bed is just visible under the waters surface. .
5. Final Pour Commence the final pour, maintaining the same gentle circular motion until the scale reaches 288g. As the water drains through into the carafe, and the water level surpasses the coffee bed and the coffee appears glistening in the light, stop the timer.
Ideally, aim for a pour-over lasting between 2 to 3.5 minutes, contingent on your brewer, filter, coffee, and grind. The grind size notably influences this duration.
Now, taste your coffee.
Does it present an amazing flavour profile? Congratulations, you've honed your recipe!
If it tastes sour, lacks intensity, or seems incomplete, consider grinding the coffee finer to extract more flavour.
Conversely, if the coffee tastes excessively intense, bitter, or overwhelming, a coarser grind can mellow down the taste and enhance the experience.
By following this detailed pour-over coffee guide, you're well on your way to brewing perfection. Remember, the key to mastering how to brew pour-over coffee lies in practice and patience.
You can download your copy of the Pourover Guide
It has even more trouble shooting tips included